
I'm getting to that point in my adult life where I hate to see a "naked" front door (I'm assuming every woman gets to that point, right? No, just me?). I used to be a simple Christmas wreath type of gal, but I've become a believer in wreaths adorning my front door year-round. At this point, I'm sticking to seasonal wreaths, and I was missing a winter variety, so I got to work last Sunday and whipped one up! It's super easy, and as long as you've got a hot glue gun and a craft store near by (or some extra craft materials), you can make one this weekend, too!
**This type of wreath isn't recommended for front doors that are exposed to the elements (meaning not covered by a roof for a stoop or porch). If you don't have a covered front door, you could always hang this inside your house instead!
**This type of wreath isn't recommended for front doors that are exposed to the elements (meaning not covered by a roof for a stoop or porch). If you don't have a covered front door, you could always hang this inside your house instead!

What you'll need:


- one foam wreath in a size of your choice (I used 16 inch, which I think was a good size for a standard front door wreath)
- fabric (I had some sparkly burlap lying around, so I used that instead)
- faux flowers
- hot glue gun and glue sticks
 |
| I found these cute bouquets/bunches of flowers, and they were on sale! |
What you'll do:
1. Lay your wreath on top of your fabric and cut the fabric to size. Be sure to leave enough to wrap around the wreath fully and glue on the backside.

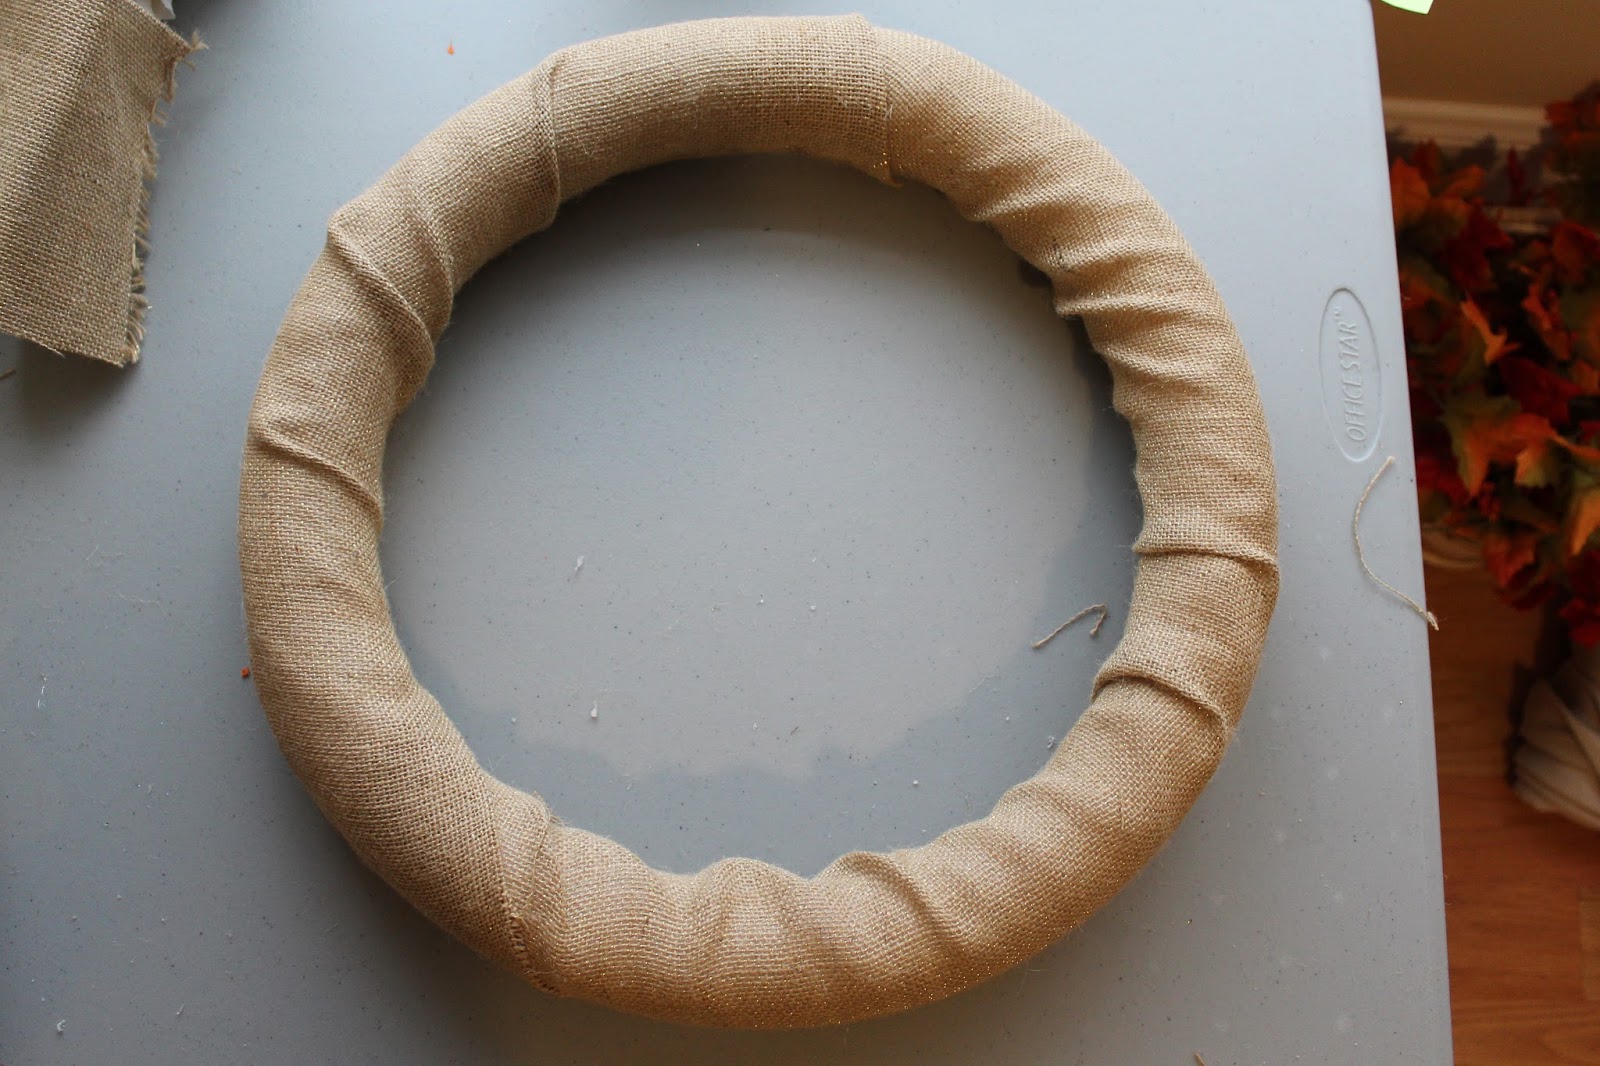
2. Wrap your fabric around the foam and glue in place. I wrapped around the outside first and glued. Continue until you have wrapped around the outside of the entire wreath, and try to glue in the same space on the back of the wreath. I had to use two strips of burlap to cover my wreath, so I had to do some planning to ensure the edges met neatly.

3. Before you begin gluing the fabric that will come through the inside of the wreath, turn the wreath over and look at it from the front side to get an idea of how it will look. The fabric will inevitably bunch in some places, so make sure you like it before you glue it in place. Then glue the fabric to the back of the wreath.

4. After your wreath is wrapped completely, gather your flowers and pull them off the stems/bunches. For a more organic look, include some greenery, as well.

5. Arrange your greenery first, then glue in place. Place the leaves so they will peek out around the sides of the wreath, otherwise you might not see them after you glue on the flowers. I like to keep my flowers on just a third of the wreath, so I kept that in mind as I arranged the leaves.

6. Now it's time to add your flowers! Use A LOT of glue to ensure they stay put once you attach them (start-to-finish, I went through 3.5 glue sticks). Hold the flower in place for a bit after you apply the glue to be sure it catches and dries a bit.

7. Hang your wreath and admire your handwork! You can use a wreath hanger, or try out my wreath-hanging hack: install an upside-down Command Hook inside, near the top of your door. Then loop some ribbon or fishing wire around the wreath and over the top of the door. Secure it to your Command Hook inside with a knot. (click here for a visual)


I hope you have a lovely, possibly crafty weekend!
No comments:
Post a Comment
Please leave a comment! I would love to hear from you!